Step by step set-ups
Culture springtails on soil
Soil suits species that do poorly on other media and is the usual starting point for newly collected springtails. Keep it moist, not sopping.
Prepare the soil
Soil can be compost, topsoil or coir. For newly caught species Springtails US advises the most organic matter you can find, and recommends compost because it holds a lot of edible organics.
Sterilize soil to remove animals that compete with springtails. Springtails US names deep freezing for 1 to 2 weeks, baking at or above 100 °C212 °F (boiling point) until all of the soil reaches the desired temperature, or baking for 2 to 3 hours at 74–79 °C165–175 °F, similar to pasteurization. Freezing or low temperature baking can preserve helpful microbes and fungi.
Set up
- Use a sealed bin or an 8 to 16 oz deli cup for small counts.
- Cut or drill a small hole in the lid or side and glue 35 micron ultrafine mesh over it. That allows enough air to prevent dangerous gas build up without compromising humidity.
- Add 1 to 3 inches of soil.
- Add bark, charcoal or other hides for the springtails to gather on. They make harvesting easier.
Care and harvest
Feed every 3 to 7 days and keep the soil moist. Moist soil is best, not sopping wet.
The easiest way to harvest from soil is to lift the hides with tongs and tap them off, or to collect springtails directly with an entomology aspirator.
Keep reading
Species in this guide
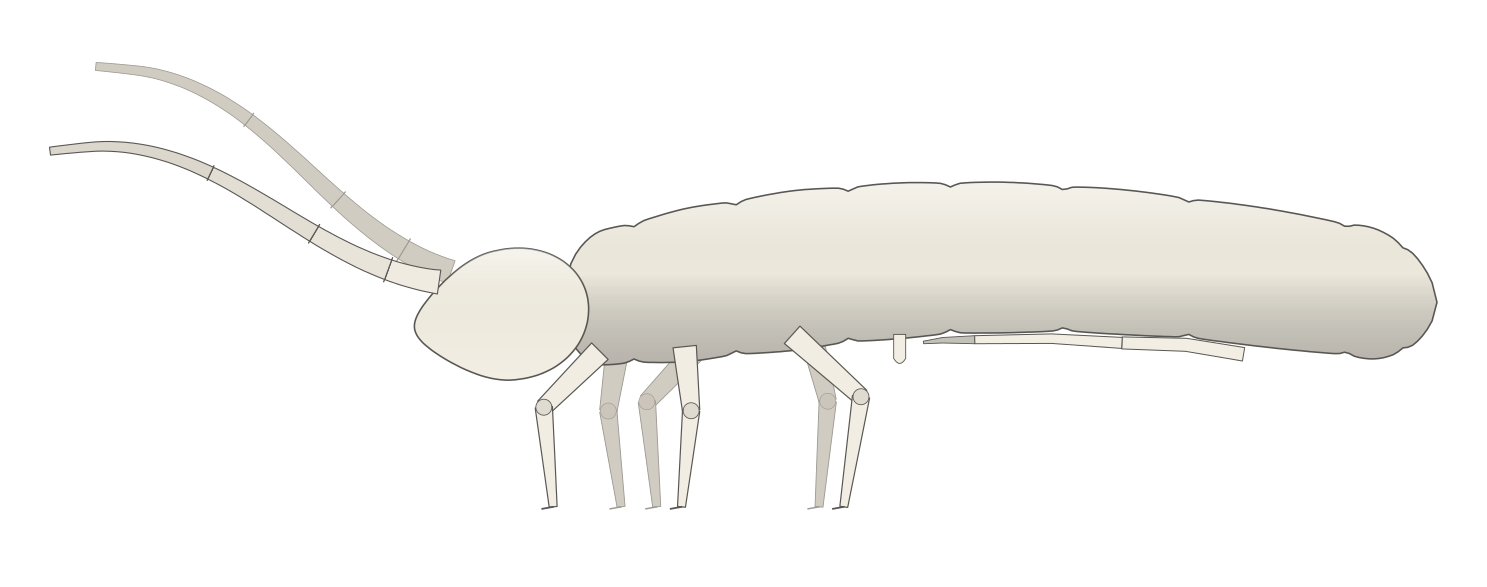
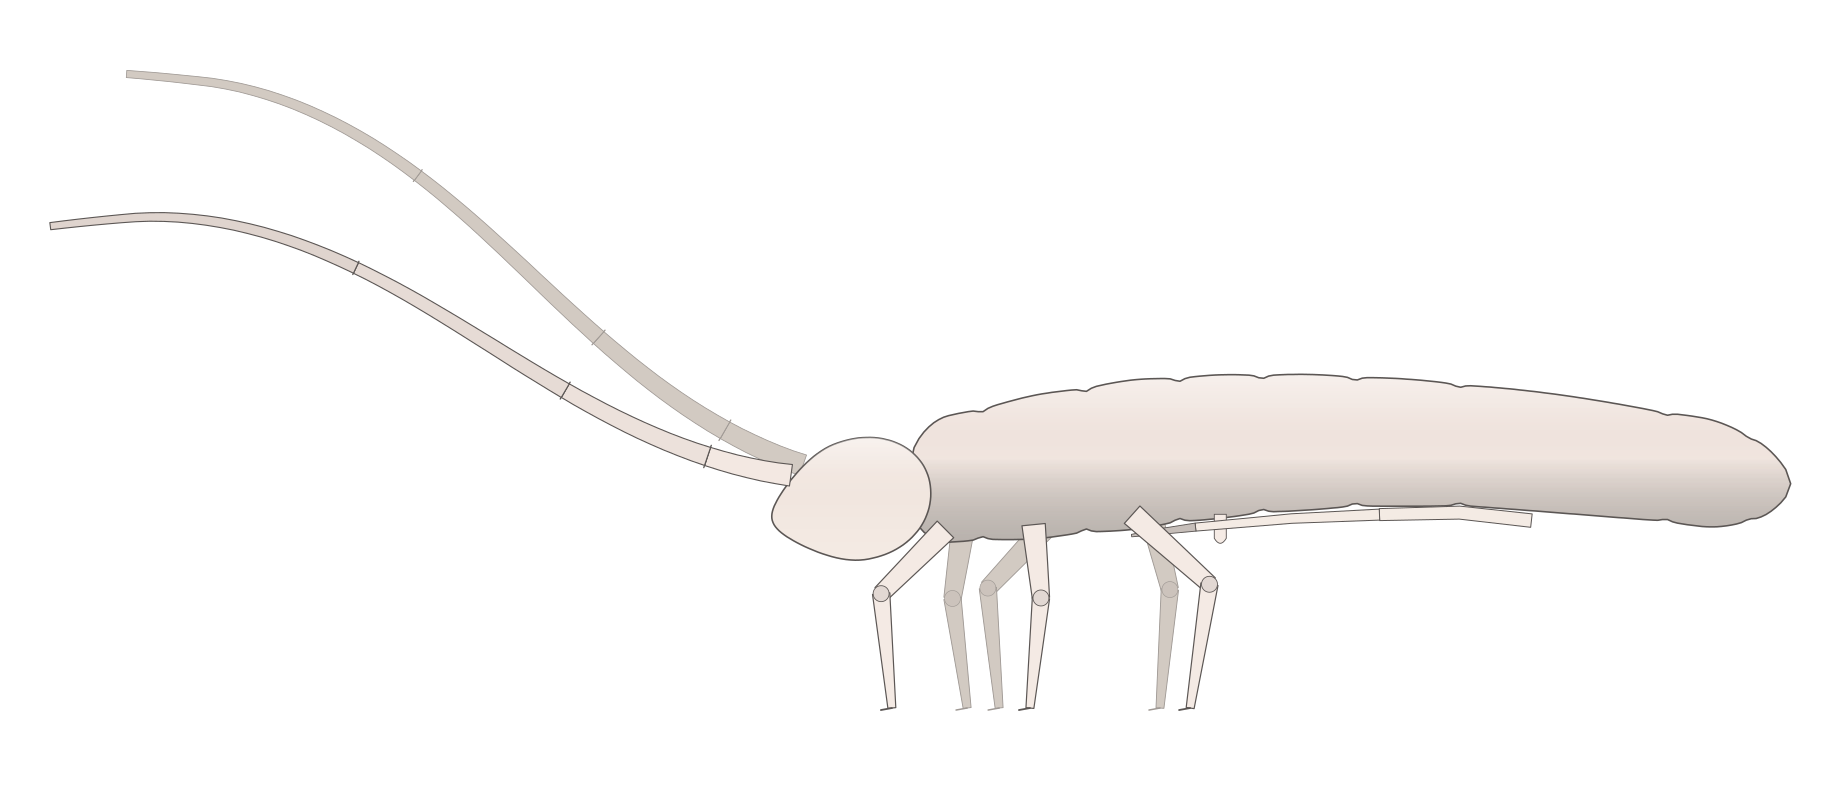
- Folsomia candida Common White Springtail A pale, eyeless springtail with a long jumping organ. It is the standard laboratory species for soil toxicity tests and the most common starter culture for bioactive tanks.
- Coecobrya tenebricosa Tropical Pink Springtail The Tropical Pink and Tropical White springtail of the hobby, a pale, fast-breeding species long sold under the wrong name Sinella curviseta.
- Start your first springtail culture
- Culture arid and semi-arid springtails
- Find, collect and culture wild springtails
If something goes wrong
Sources for this guide
- 1
Springtails US
Link works · Retailer
Cited at Materials Required; Setup Instructions; Care and Harvesting; Care and Harvesting and Extra Information.
- 2
How to find, collect, and culture wild springtails
Pavy R. 2023. Springtails US
Link works · Retailer
Cited at Substrate.
Reviewed Oct 22, 2026